
How to quickly add a user to Ocasta
Add all your new users with ease, follow our step by step guide which tells you exactly what you need to do.
1. Log on to your Ocasta account by going to yourcompany.oplift.io
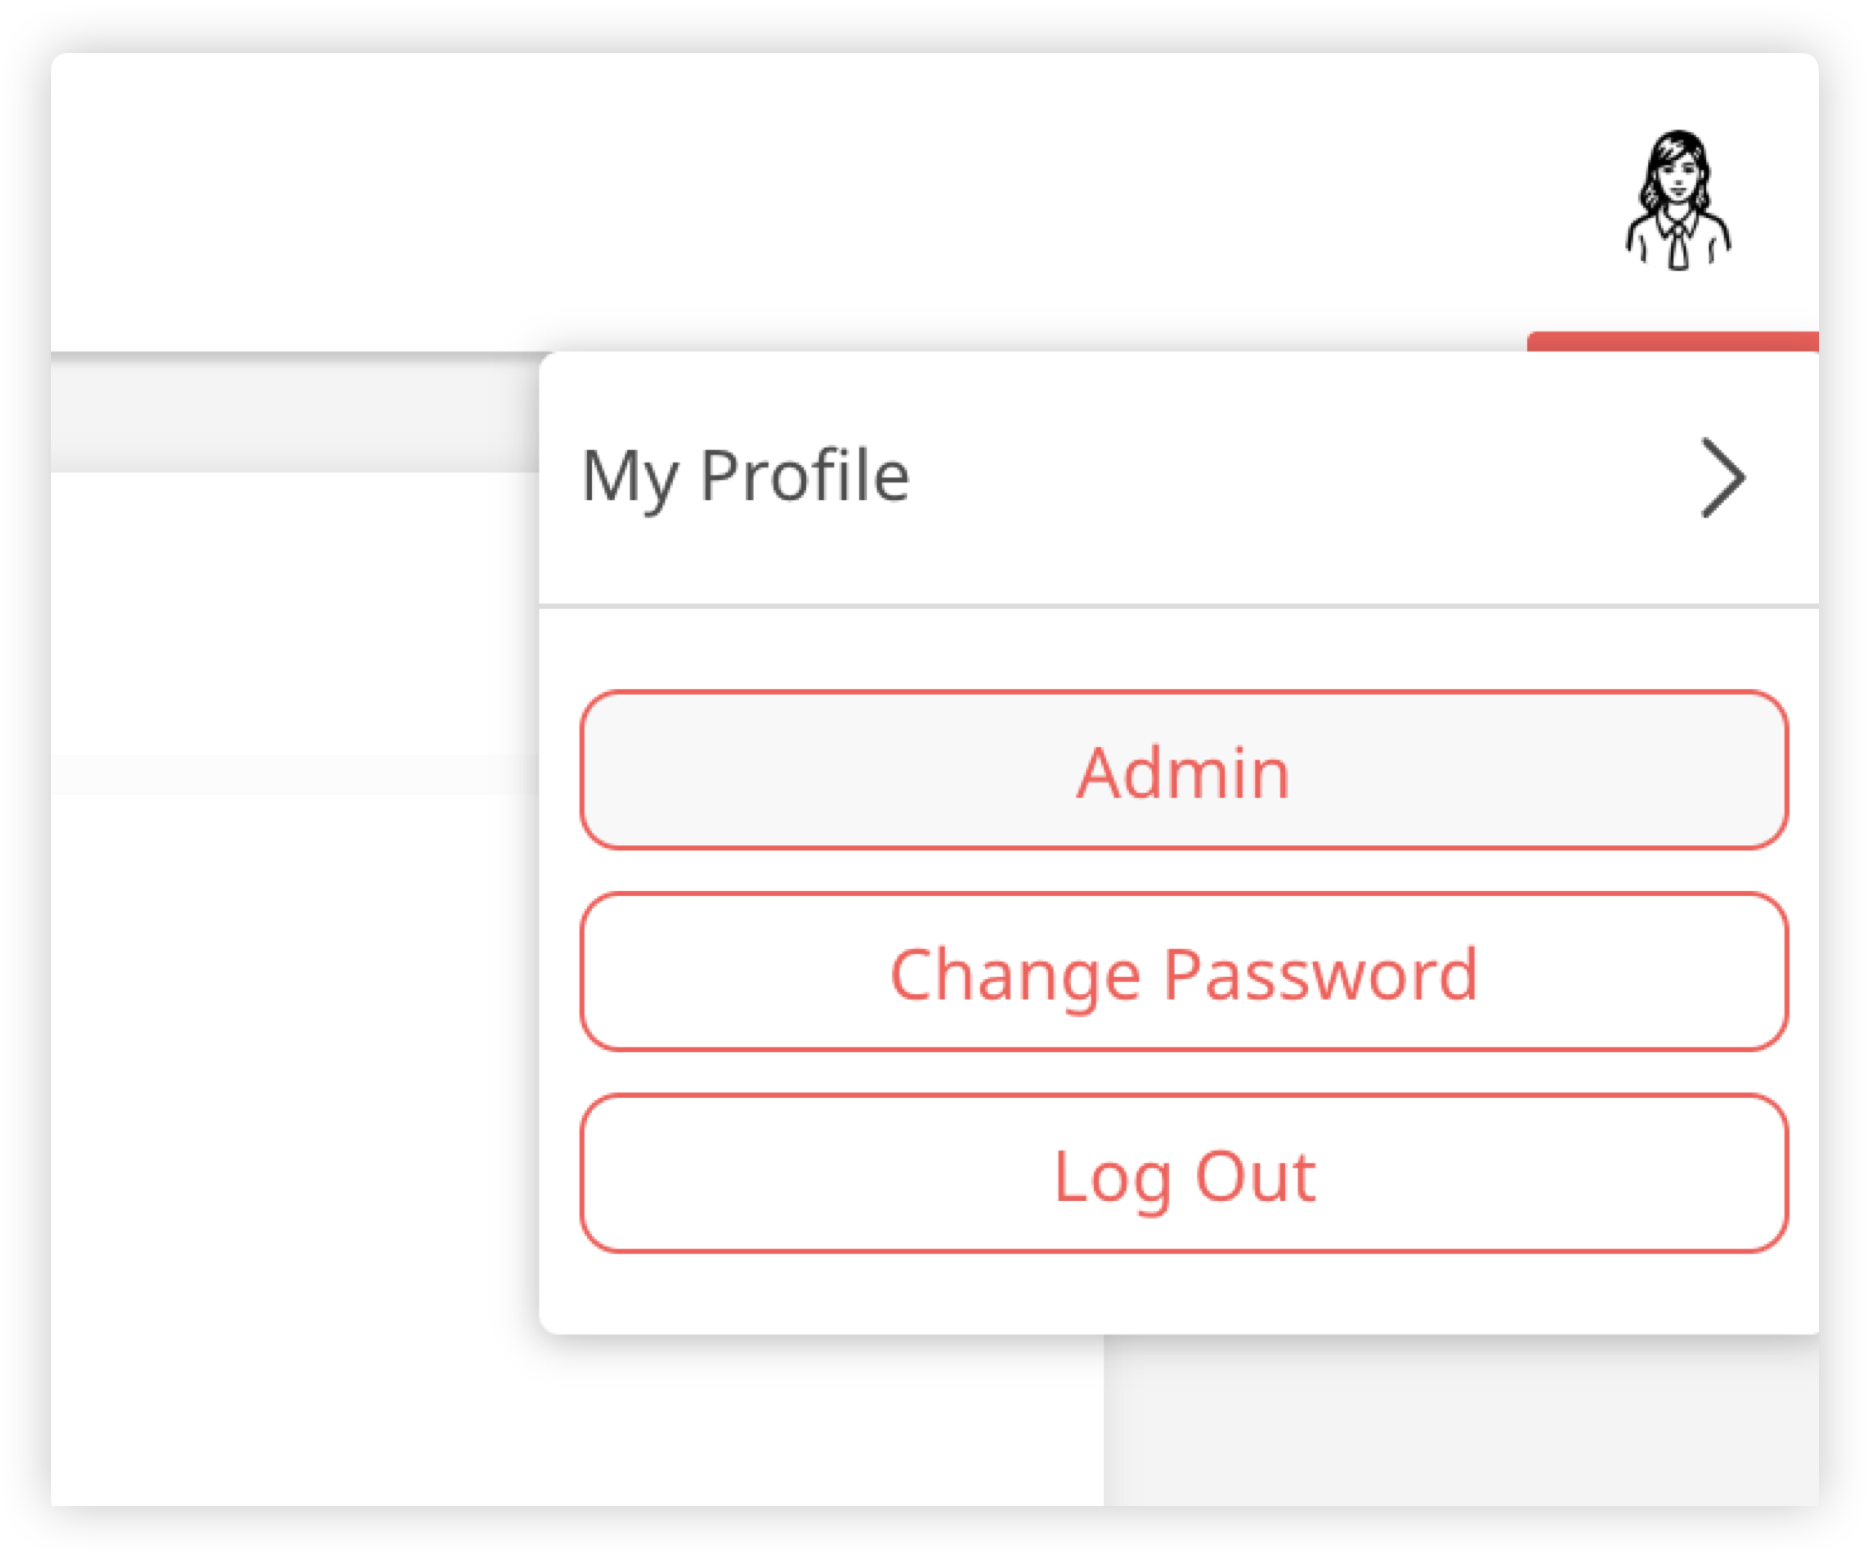
2. Once logged in, go to your picture in the top right and click on it, select Admin from the drop-down menu.
3. Head over to the left column, find Users then select Add New

4. Add the user's details to the form, for info on each field. The following are all mandatory:
- Username - This needs to be unique for every user. If you have employee or payroll number, use this here, or you can simply enter their First and Last Name as the username. You can't change the username later.
- Email - enter the email address of the user, they'll be sent a welcome email to this address to sign up, as well as use it to reset their password and receive certain notifications from Ocasta.
- First/Last Name - please note this will be visible to other users and in reporting.
- Send User Notification - by default, every user you add will receive an email with a link to create their account. Find out how you can customise your welcome emails. Untick this option if you don't want a welcome email to be sent.
- Role - choose a default or custom role. You can read more here about roles here and information on custom role setup.
- Location - assign which location the user belongs to, this will group them for reporting and allow you to target content specific to their team. Learn more about managing locations.
It's worth noting, users can login with their email address or username.
5. Once you have put the relevant information in press the Add User button at the bottom of the page.
And that's it! You have now added your first user in just a few minutes 👍
Additional optional user settings
These fields are optional but useful in the right situations:
- Password - you shouldn't need to use this, but if you want to bypass the welcome email and manually set a password you can do it here.
- Start date — stored in the system and included in certain CSV exports
- Role lock — prevents roles being changed during automated user imports
- Location Lock - This is to make sure a user's location doesn't change if you later import them with a different location, if you don't know what this is, it's best to leave unticked.
- Engage Roam (Knowledge & Learning and Comms & Engagement only): This allows users to see all content, even if it is targeted to specific locations or regions. If the user has permission to view reporting, they will be able to see reporting on all locations.
- For the Inspections & Checklists and Observation & Coaching Hubs, what locations users have permission to see is set at the user role level. You can read more about these permissions here.
How do I add new users via CSV import?
It is possible, if you have a large number of users, to import the users via a csv import. You can read more about it here or contact the Ocasta support team for more information 🙂