
One time reviews
Applies to: Inspections & Checklists Hub
What they are and why they matter
Sometimes you need every location to complete a single action — like updating a POS poster — and you still want clear reporting on who’s done it. That’s exactly what one time reviews are for.
A one time review is a location review that can be assigned to all locations or specific location types. Each location can only submit it once. If someone tries to complete it again later, they’ll see that it’s already been done.
You’ll find one time reviews on the Scheduled reviews tab on the Review page. Each one shows a due date, but teams can still submit it after that date if needed. Anything overdue is marked clearly so it’s easy to spot.
Managers can track who’s completed a one time review by heading to the Latest report in the analytics section on the web.
How to set up a one time review
Setting up a one time review is very similar to creating a normal review. The only difference is selecting the one time option in the schedule tab.
Step 1: Create your insights
- Log in to the admin.
- If you haven’t already, create the insight or insights you’ll use for this review.
- Go to Review → Insights → Add Insight.
- Enter your insight title, for example Update the POS poster. Add a description if helpful.
- Choose the insight type. The Checkbox insight is often ideal for one time reviews, but you can pick any insight type.
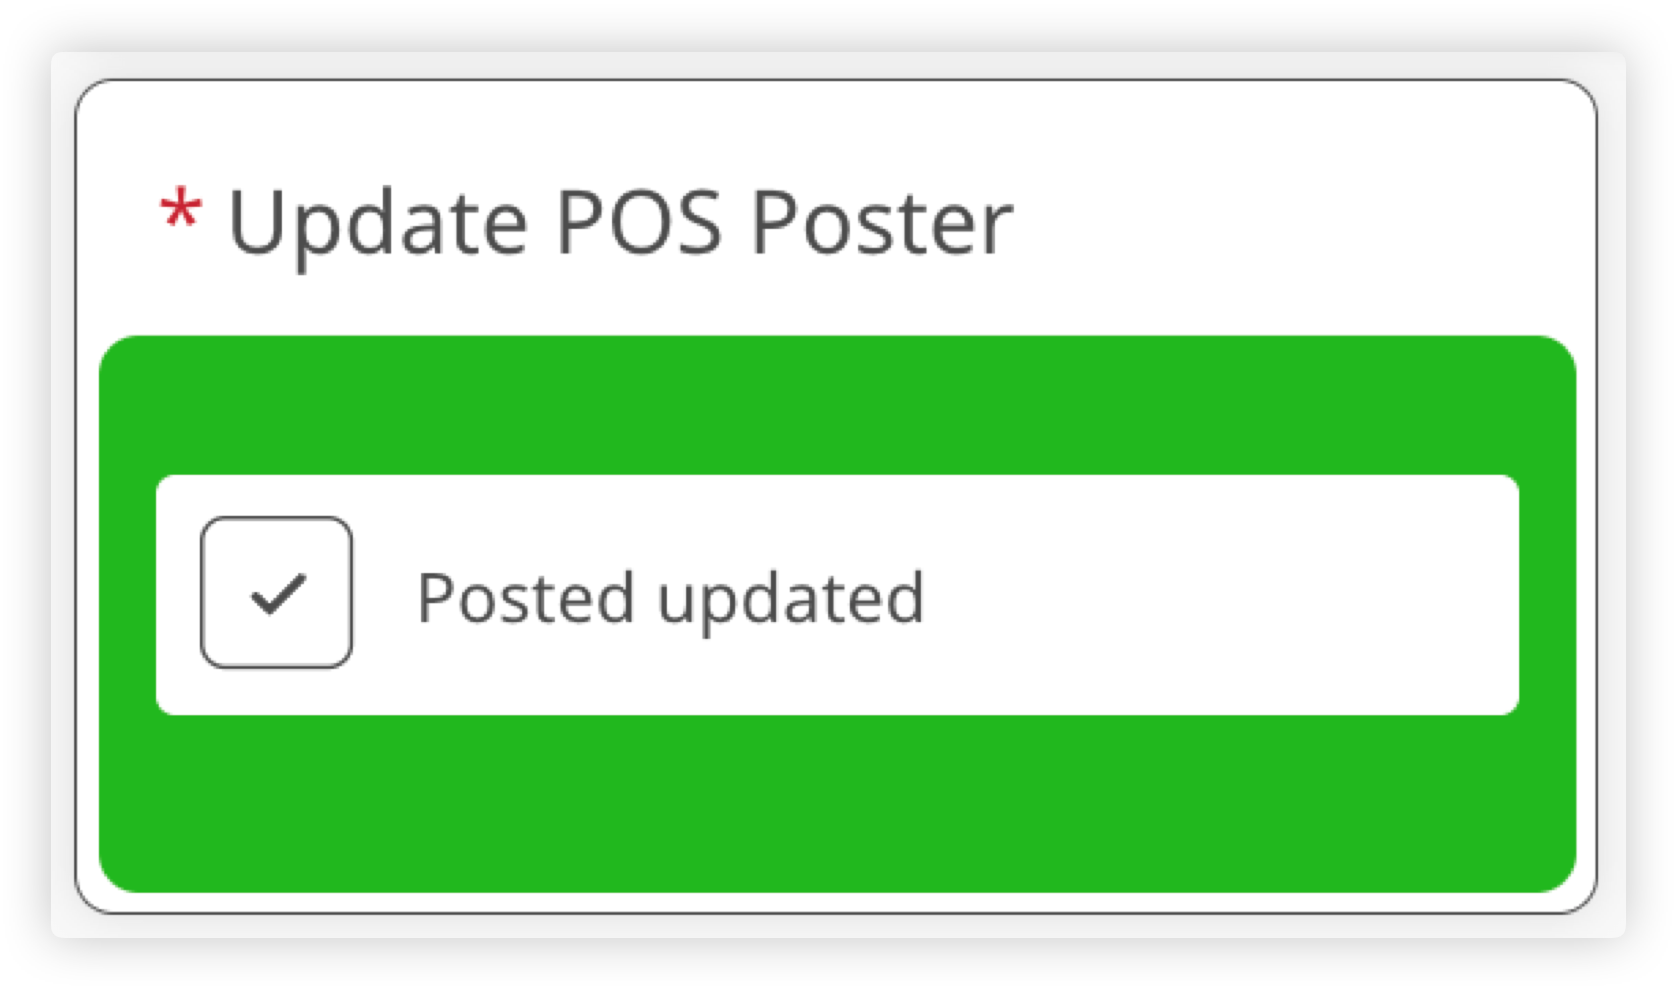
- If you’re using the Checkbox insight, you can add a label. If you leave this blank, the label will default to Done.
- Select Publish in the top right.
You can create more than one insight. A one time review isn’t restricted to just one.
Please note: The checkbox insight is new and is not supported in older versions of the app. To use this feature, please wait until version 2025.12 is available to all users.
We recommend waiting at least one week before enabling this feature to give everyone time to update.
Step 2: Create your review template
-
Go to Reviews → Templates → Add Review Template.
Enter a review title.
- Make sure Location is selected for What is this review about? One time reviews don’t currently support person based reviews.
- Choose which location types the review applies to.
- Add a description, upload an icon, and choose a colour.
- Select Add section.
- Choose whether the section contains Insights or Notes. (You can’t add a previous review section to a one time review.) One time reviews will more commonly use an insights section.
- Enter a section name. If your review has only one section, this title won’t appear on the front end.
-
Add the insights you created earlier. You can also choose to make them mandatory and require a photo. For example, if the review is about updating a POS poster, you may want a photo as proof.
Step 3: Schedule it as a one time review
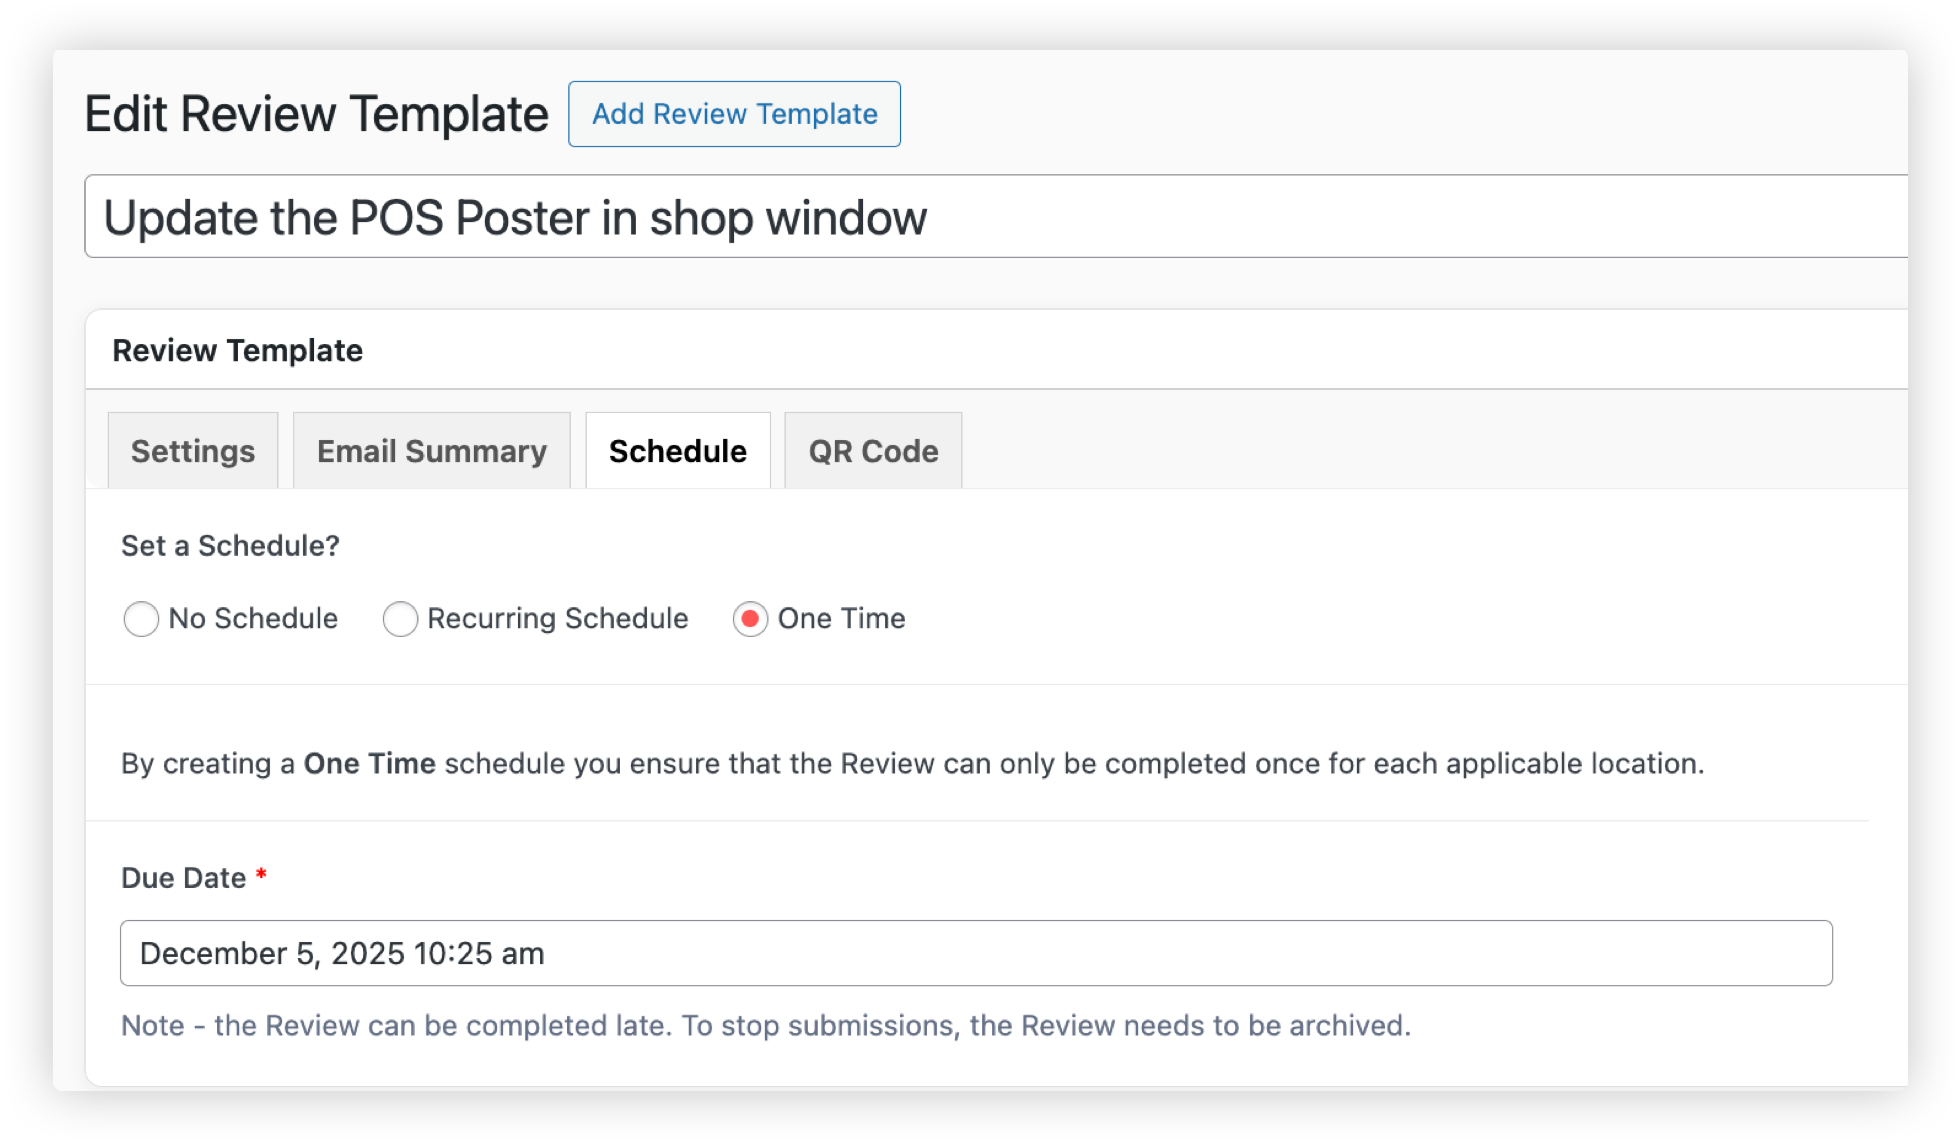
- Switch to the Schedule tab.
-
Select One time review.
Choose a due date. Teams will still be able to submit after the due date unless you archive the review.
- Set which roles can complete (perform) the review and view the reporting for it.
- When everything looks right, publish the review.
How users complete a one time review
One time reviews appear on the Review page under Scheduled reviews. The due date is clearly shown, and as the deadline approaches it will move higher up the list.
Because only one submission is allowed per location, once it’s done, anyone else viewing that location will see that it’s already been completed.
Users can complete one time reviews for any locations they’re allowed to view based on their review roaming permissions.
How to see which locations have completed it
To see who’s done what, log in on the web and head to Analytics → Latest report. Choose your one time review template. You’ll see a list of locations within your selected date range, along with:
- Submitted date
- Who submitted it
- The score
For example, if your one time review uses a mandatory Checkbox insight to confirm a POS poster has been updated, any completed location will show a score of 100 percent.
If you want to see all locations the one time review applies to, make sure your user role has review roam everywhere permission.
Archiving a one time review
Once all locations have completed the one time review and you no longer need it, you can archive it in the admin. Archiving removes it from the Review page and hides it from reporting.
To archive a review:
- Go to the admin and open the review.
- In the Publish section in the top right, change the status to Archived.
- Select Update to save your changes.
Hiding a one time review without archiving
If you’re not ready to archive the review yet because you still need access to its reporting, but you don’t want users to complete it anymore, you can update the permissions on the template.
To do this, open the review template in the admin and adjust which user roles can perform the review. Removing all roles from this list will stop the review appearing on the Review page, while still keeping all reporting available.