
Importing & Updating Locations
How to create a locations import file
If you have a lot of Locations to set up for Engage or Review consider using the ‘Import Locations’ facility in the admin.
You can also use this function to update location details later. This process will be explained in more detail below.
To import locations you need to first create a csv file with each location required on a separate row. A template file is available.
If you haven't run a location import before please get in touch and a member of the team can run through it with you.
The column headings available correspond to the main fields in Location entry. These are:
-
location_title - The name of the new location [Mandatory]
-
region - Which region it will be in, which can be a main region or sub-region [Mandatory]
-
location_type - The Type of Location this will be [Mandatory]
-
loc_address_line_1 - Address line 1
-
loc_address_line_2 - Address line 1
-
loc_address_town - Town
-
loc_address_county - County
-
postcode - Postcode
-
loc_external_id - A unique, short identifier for the location, used as an alternative to the main name. This value will serve as the primary reference for the location in future location import updates, even if the location name changes.[Mandatory]
-
active - Yes / No [Mandatory]
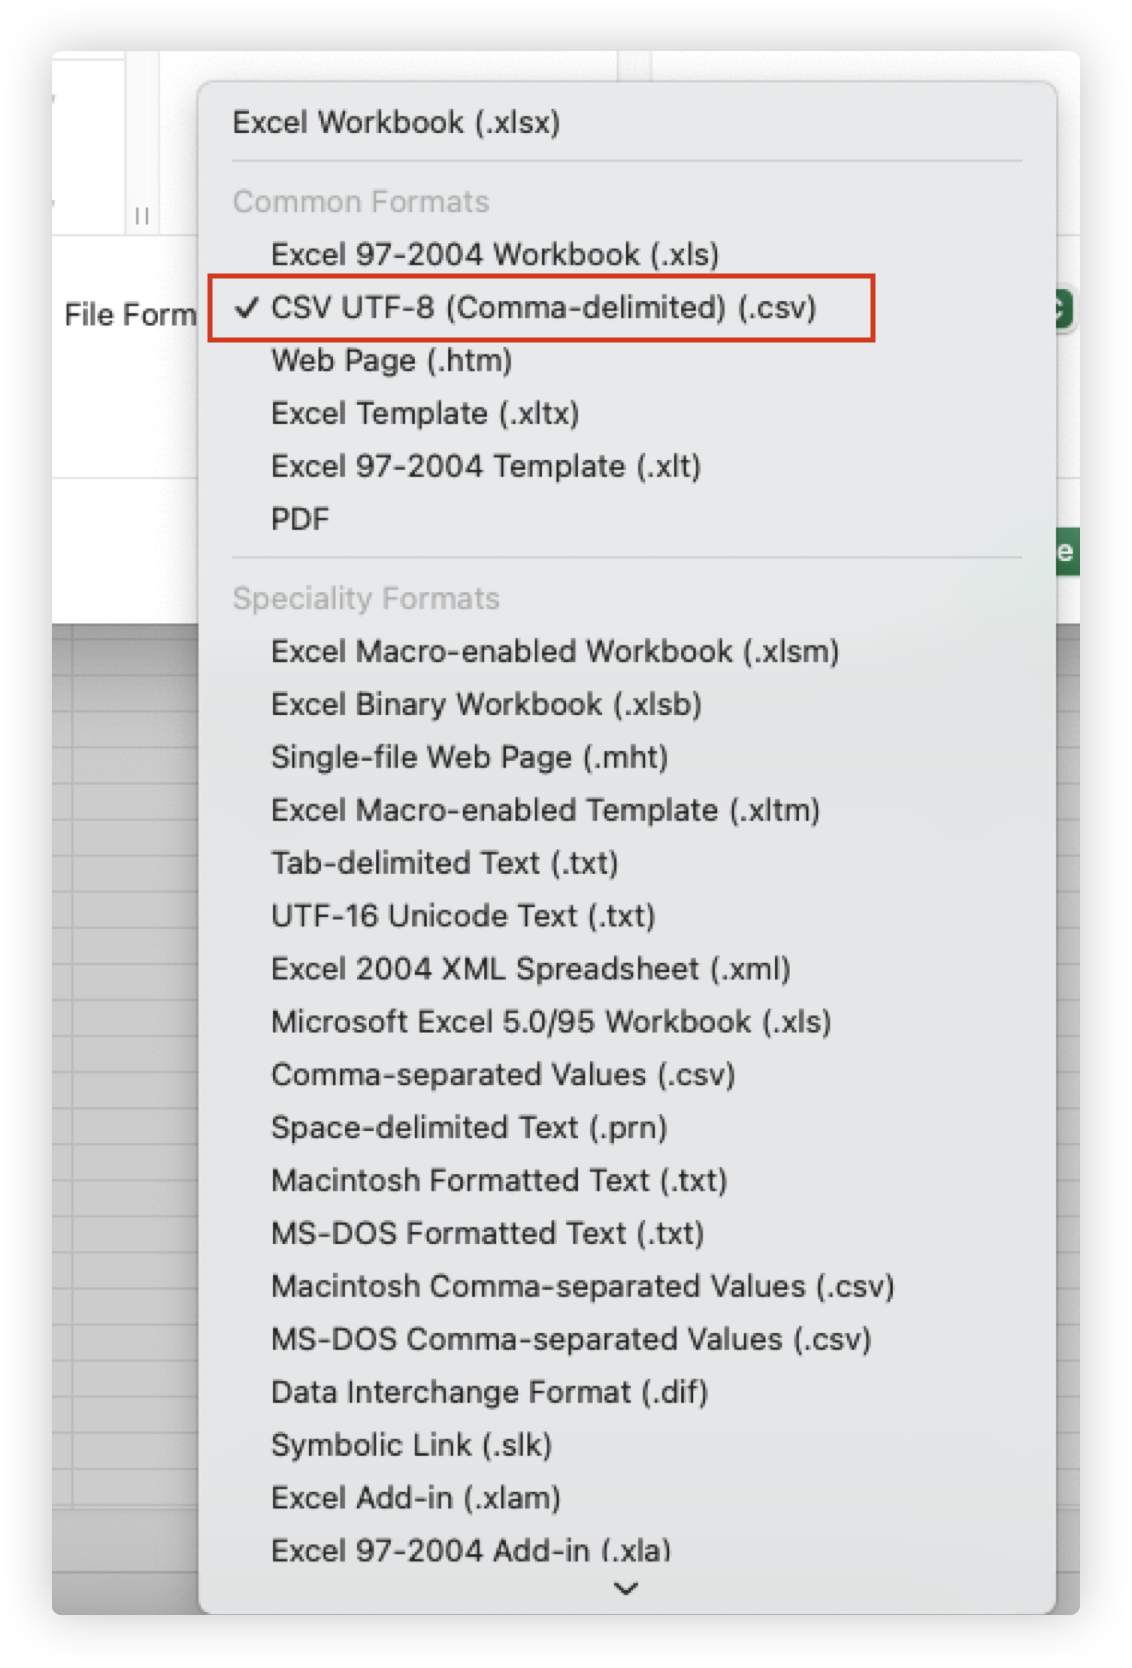
If you're using Excel to create your location import file, please select the 'CSV UTF-8 (Comma Delimited)' format, when exporting the file.
How to import the location file
-
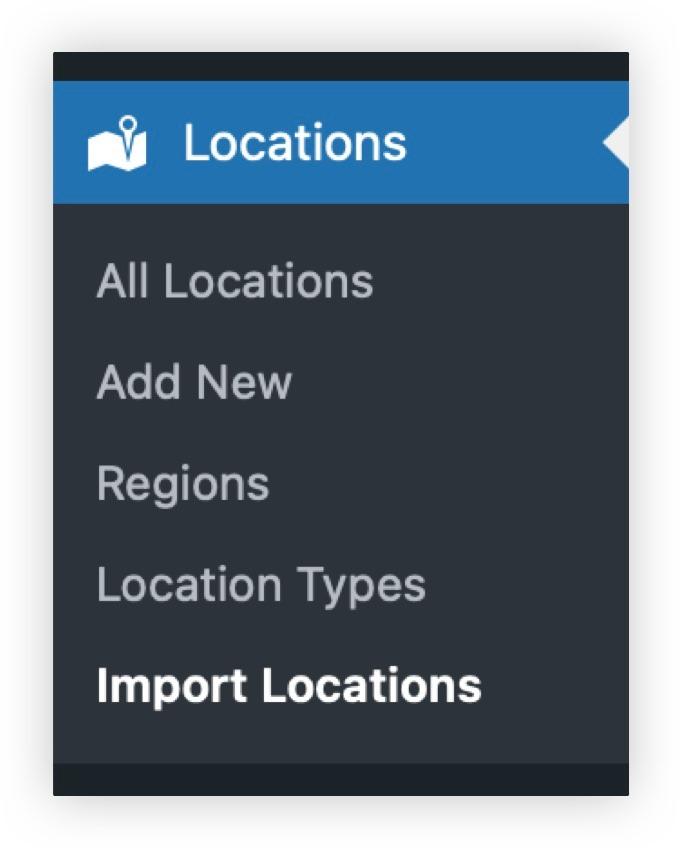
When your file is ready you then need to go to the Admin view, select locations then the sub-menu item ‘Import Locations’.
-
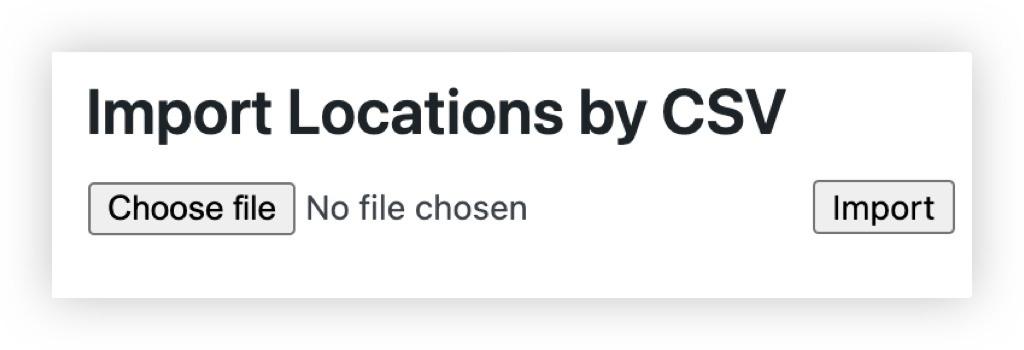
Then Choose File then browse and select the file you have just created, followed by Open.
-
Then press Import.
-
If the locations are correctly set up AND DO NOT ALREADY EXIST then they are added straight away and will be available for use.


A few caveats to consider when importing locations:
-
The new locations must have Region and Type fields set that already exist. If not then the file entries will be rejected.
-
The loc_external_id must be unique. If the same ID has been used for an existing location, the new location will not be added and it will update the existing location instead so make sure to check the ID is correct.
How do I update existing locations?
If you haven't used this feature before to update your locations please get in touch and a member of the team can run through it with you first.
You can run a location import to update the following details for an existing location:
-
Location name
-
Location region
-
Location type
-
Location address and postcode
-
Whether the location is active or not
To update existing locations, each one must have a Location Identifier (loc_external_id).
You may already have a CSV file you used for your initial import. If not, you can download and use this template.
Update the necessary details in the CSV file, making sure the Location Identifier for each location stays the same. This is how the system matches records for updating.
When your file is ready:
-
Go to the Admin.
-
Select Locations, then the Import Locations sub-menu item.
-
Click Choose File, browse for the CSV file, and select Open.
-
Click Import.
After the import, you'll see a report indicating how many locations were successfully updated.
Can I update and add new locations at the same time?
Yes. Any rows with a Location Identifier that matches an existing location will be updated. If a new Location Identifier is provided, a new location will be created.
The loc_external_id must be unique. If the same ID has been used for an existing location, the new location will not be added and it will update the existing location instead so make sure to check the ID is correct.
Can a change a location identifier?
Yes, but this must be done manually in the admin, not through the import.
This is because the import process relies on the Location Identifier to match and update locations, not the location name.
Please contact support@ocasta.com if you need any further help 👍